


Brow Mapping Guide for Your Best Shape
A great brow appointment should never feel like a gamble. The right shape can make your eyes look more open, bring balance to your features, and give your whole face a more polished look - even on makeup-free days. This brow mapping guide explains the simple framework professionals use to create brows that suit you, not a one-size-fits-all trend.
Brow mapping is especially helpful if you have been over-tweezing, growing out uneven areas, trying brow tinting for the first time, or simply want a more consistent routine. It gives you a clear plan before any hair is removed, so your results feel intentional and beautifully you.
What Brow Mapping Actually Does
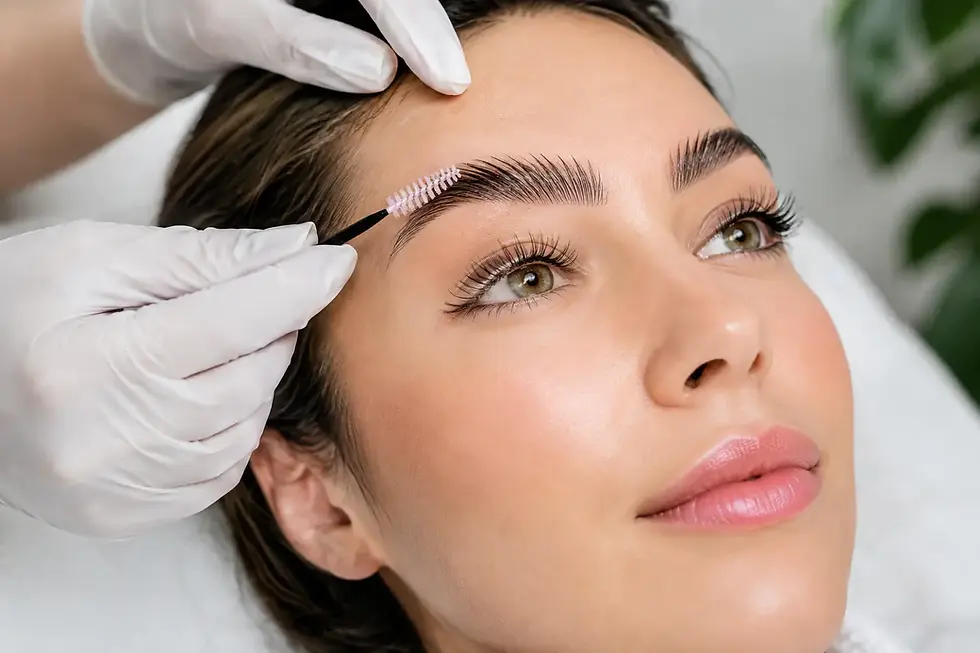
Brow mapping uses a few facial reference points to outline where each brow should begin, arch, and end. Your brow artist evaluates those points in relation to your nose, eyes, bone structure, natural hair growth, and the amount of fullness you have to work with.
The goal is not to make both brows look identical. Brows are sisters, not twins, and natural facial asymmetry is completely normal. Instead, mapping creates visual harmony. It helps your artist refine what is already there while keeping enough softness that your brows still look believable up close.
At a professional appointment, mapping usually happens before waxing, threading, tweezing, tinting, or any other brow service. It is a small but meaningful step that helps prevent a shape that is too thin, too short, too high, or overly squared at the front.
Brow Mapping Guide: The Three Key Points
Most brow mapping starts with three landmarks. You can use them as a helpful reference at home, but remember that a trained brow artist can adjust them based on your individual features and your preferred finish.
1. Find the starting point
The front of the brow is generally aligned with the outer edge of the nostril and the inner corner of the eye. A brow that starts too far inward can make the center of the face look crowded. One that begins too far outward may make the eyes appear farther apart.
For a softer, modern look, the front should rarely be a hard vertical block. Natural-looking brows often have a gentle fade at the inner edge, with the hair brushed upward and slightly outward.
2. Locate the arch
The arch is often mapped from the outer edge of the nostril through the outer portion of the iris when looking straight ahead. This point is a guide, not a rule carved in stone. If your natural arch sits lower or farther out, forcing it into a dramatically different position can leave the brow looking surprised or disconnected from your face.
A subtle arch tends to create an elevated, refined effect. A stronger arch can add definition, but it needs careful balance. The best choice depends on your natural brow pattern, eyelid space, and how polished or soft you want your everyday look to feel.
3. Determine the tail
The brow tail is commonly measured from the outer nostril to the outer corner of the eye. A tail that ends too early can make the brow look unfinished. A tail that extends too far down may visually pull the face downward.
The tail should taper rather than disappear abruptly. If your natural tail is sparse, brow tinting, pencil, powder, or a tinted gel can help create definition without removing more hair from the area.
Your Natural Brow Shape Still Leads
Reference points are useful, but your existing brow growth matters just as much. A brow artist will look at density, direction, scars, gaps, and the natural peak of your arch before deciding what to remove. Trying to force thin brows into a fluffy, full shape or turning naturally straight brows into high arches can create results that require daily makeup to maintain.
This is where patience makes a difference. If you are growing out brows after years of over-plucking, the first appointment may focus more on cleanup and a plan than a dramatic reshaping. Keeping strategic growth in place can give you more options at the next visit.
It also depends on your lifestyle. If you prefer a low-maintenance routine, a clean but natural shape with a light tint may be your best fit. If you love a more defined makeup look, you may want stronger structure at the lower brow line and a shade that adds visible depth. Neither approach is better - the best brow design is one you feel confident maintaining.
How to Prepare for a Brow Appointment
Arrive with your brow goals in mind. Save a few inspiration photos if that helps, but choose examples with a similar brow density and face structure when possible. A photo can communicate whether you prefer soft, fluffy, structured, straight, lifted, or bold brows far more clearly than a single word like “natural.”
Be honest about your routine, too. Tell your artist if you fill in your brows daily, use retinoids or exfoliating skincare near the area, have sensitive skin, or are trying to grow certain sections back. These details can affect the service recommendation and make the experience more comfortable.
If waxing is part of your appointment, avoid applying strong exfoliants, retinol, or irritating active ingredients around the brow area beforehand. Freshly exfoliated skin can be more sensitive. Afterward, skip heavy makeup on the area for the rest of the day when possible and give the skin a little breathing room.
Common Brow Mapping Mistakes to Avoid at Home
At-home grooming can keep brows tidy between appointments, but it is easy to lose the shape when you are standing inches from a mirror. The most common mistake is removing too much from the top of the brow. The upper line often preserves the natural lift, and taking it away can flatten the shape fast.
Another issue is chasing perfect symmetry hair by hair. When one brow seems slightly fuller, it is tempting to keep plucking the fuller side until both look the same. Usually, that only leaves both brows thinner. Step back from the mirror, check your face from a normal distance, and focus on overall balance.
Avoid taking too much from the tail, too. Tails are often naturally finer, which makes them seem like the easiest place to clean up. Yet a soft, intact tail gives the brow its finished shape. If there are only a few stray hairs between appointments, remove only those that clearly fall outside your mapped outline.
Choosing Between Waxing, Tweezing, and Tinting
The right brow service comes down to your skin, hair growth, and desired finish. Waxing is efficient for clean, defined edges and can be ideal when you want a polished result before a vacation, event, or busy week. Tweezing gives more control around delicate areas and may suit clients who need a highly targeted cleanup.
Tinting adds color to lighter or finer hairs, making brows appear fuller without having to draw them in every morning. It can be a beautiful option if your shape is already close to where you want it, but the color needs to complement your hair, skin tone, and comfort level. Going too dark can feel harsh, while a customized shade gives you definition that still looks like you.
At Touchpoint Nails + Spa, a brow service can fit easily into a larger self-care appointment, whether you are refreshing your nails, getting ready for an event, or reserving a little time for yourself between busy Austin plans. A clean, welcoming setting and thoughtful consultation make all the difference when the details are this visible.
When to Book a Professional Brow Shape
Book a professional brow service when you are starting a grow-out phase, changing your look, preparing for photos, or feeling unsure about what your brows need. It is also smart to book if you have had a disappointing DIY experience. A skilled artist can work with uneven growth and create a realistic plan rather than trying to fix everything in one aggressive appointment.
Think of brow mapping as a way to make your features feel more like themselves, not more filtered. Bring your preferences, leave room for expert guidance, and choose a shape that makes getting ready feel a little easier and a lot more polished.
Comments